
This post explains how to set up a Net Promoter Score survey on WordPress. Starting to collect NPS on WordPress is simple and free.
Setting up the FanExam Net Promoter Score survey on a WordPress site is simple:
- Install the WordPress plugin Scripts n Styles
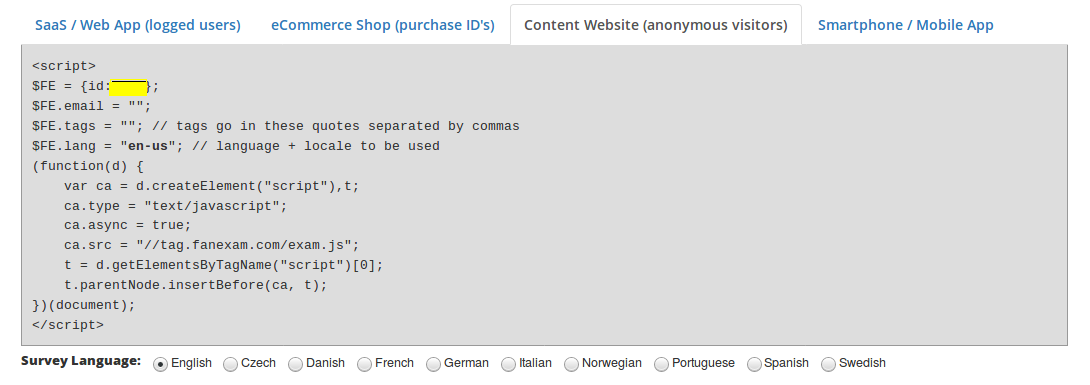
- Open a Fanexam account at FanExam Create Account
- Copy the FanExam snippet from the tag page
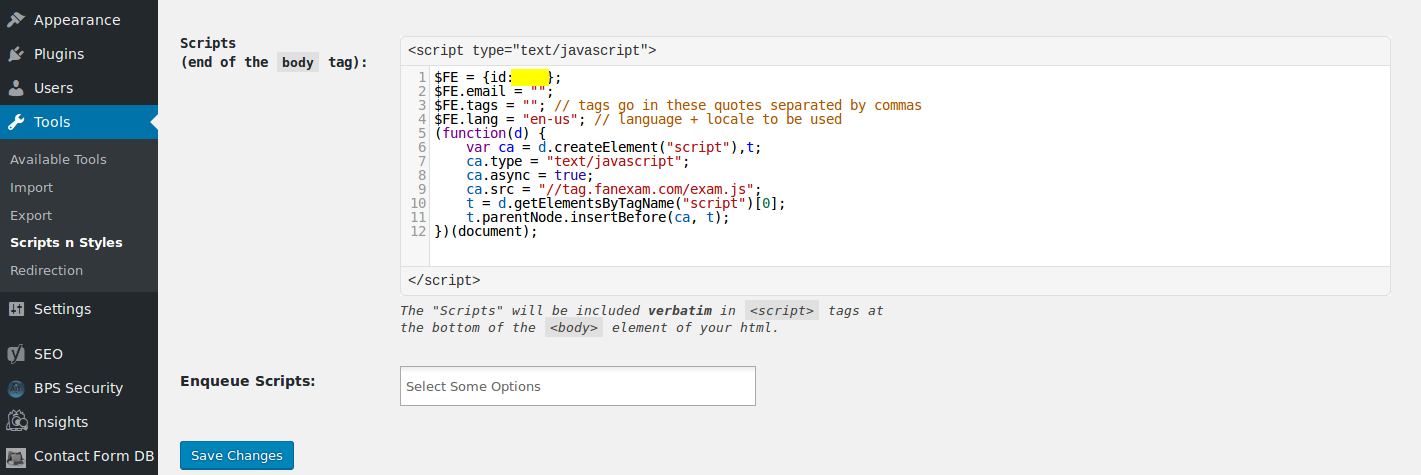
- Insert the FanExam tag in the WordPress backend on the scripts-n-styles plugin settings page
- Save the settings page
- Tweak the FanExam settings page. On a website or blog it is recommended to start with the following settings for the NPS widget: survey visitors on the first or second visit, after 2 or 3 pageviews, and with a 10 second delay.
- Experiment with the settings. There is no magic bullet, as the settings depend on your audience.
Tip: Adjust the settings when you show the NPS survey after you have observed NPS responses for a period of a few weeks. For some sites it makes sense to show the NPS survey only to repeat visitors, whereas on other sites it makes sense to show the survey on the first visit and the third pageview. This will give the best NPS experience for WordPress sites.